Panasonic Pencil Sharpeners

For a while, I’ve been enjoying sharpening pencils in plug in the wall electric pencil sharpeners. The gateway was pencils, and then the mountable pencil sharpeners that were in common use in most classrooms. The following are some of these sharpeners. Some, like the KP-110 and KP-33s are on loan and unavailable for the family picture.

From left to right,

KP5 — This is the oldest of the models that I have and unfortunately makes the dullest point. I still use it but finish off in one of the other ones. The DNA of the models to come is already here: the light, the auto stop, the disk that looks like a dial but is really a guide for the pencil, and the receptacle.

KP33A — I don’t know how the 33A is special. I know the 33S makes a short point. The 33A…I have a 33N coming soon and should give me something else to compare it to.

KP8 — Here, the design that was to get so much play with the KP33s, was already fully baked. You have to love the light. And the feet — the feet on mine are suple and soft, floppy and not stiff like what came after with the KP33s. And I think it’s the softness is that makes them problematic. In many of the other KP8s that I’ve seen, the feet are flattened and thoroughly destroyed. At first glance, the KP8 looks like the KP33s, which are the most common online. The major difference for me is the less squarish face (the top is a little narrower than the bottom, compared to the KP33s).

KP100W — This, to me, is the purest version of this design. By this time, the light is gone, the dial’s been removed. Not, for me the prototypical Panasonic KP sharpener, but the one stripped down to its essentials. The case is all plastic, no more metal base (as with the KP5, KP8, KP33A) and the base feet are set closer together, which gives them less stability . The point from this guy is insanely sharp, though, and I’ve stabbed myself a few times with pencil points from it. This one makes the sharpest points of all the sharpeners I own.

KP99 — Nice point but the most boring in terms of looks. Nothing playful, very bland. The most distinguishing feature is the very broad silver plate surrounding the sharpening hole.

KP100N — this I bought new in the box and maybe because of that has the quietest motor/gears and gives me dangerously sharp points — just a hair less sharp than the KP100W. Has no doubt stabbed me a few times. All plastic body. Narrowly spaced rubber feet.

KP33S (not shown)- This is a short point version of the 33. Ideal for colored pencils or soft leads where a long sharp point is too britttle. All plastic body.

KP110 (not shown)– the latest model that I have and I think the cutest, by virtue of its small size. The receptacle is super small. And so is the motor so pencil shaperining is slower. Still, a quality pencil sharpener and a good addition to a small table, It has a sharp point, too.

After the KP110, new designs were made outside of Japan and just don’t look as good, as interesting, or as desireable. The KP330, which I don’t own, looks generic, like there was nowhere else to go. Over time, the compromises and trade offs are clear. Plastic replaces metal, plate bottoms in the KP100s replace the one part bottom, the light goes away, the motor becomes smaller and less powerful. Through it all, though, there was still a commitment to quality, which is why I find these machines so fascinating. And they’re also inexpensive, averaging about 20 to 60 dollars, depending on model and condition. You can frequently find very fine units with box and manuals or with very light use. If you have the opportunity, I recommend you pick up a few…

A couple of staplers

Staplers are an important office tool for gathering paper. Bindler clips and paper clips have their place, but whenever you need an inexpensive and secure solution, nothing beats the stapler. I have four staplers, myself. They are:

The ACCO 50

2017-11-28 11.12.412017-11-28 11.12.18

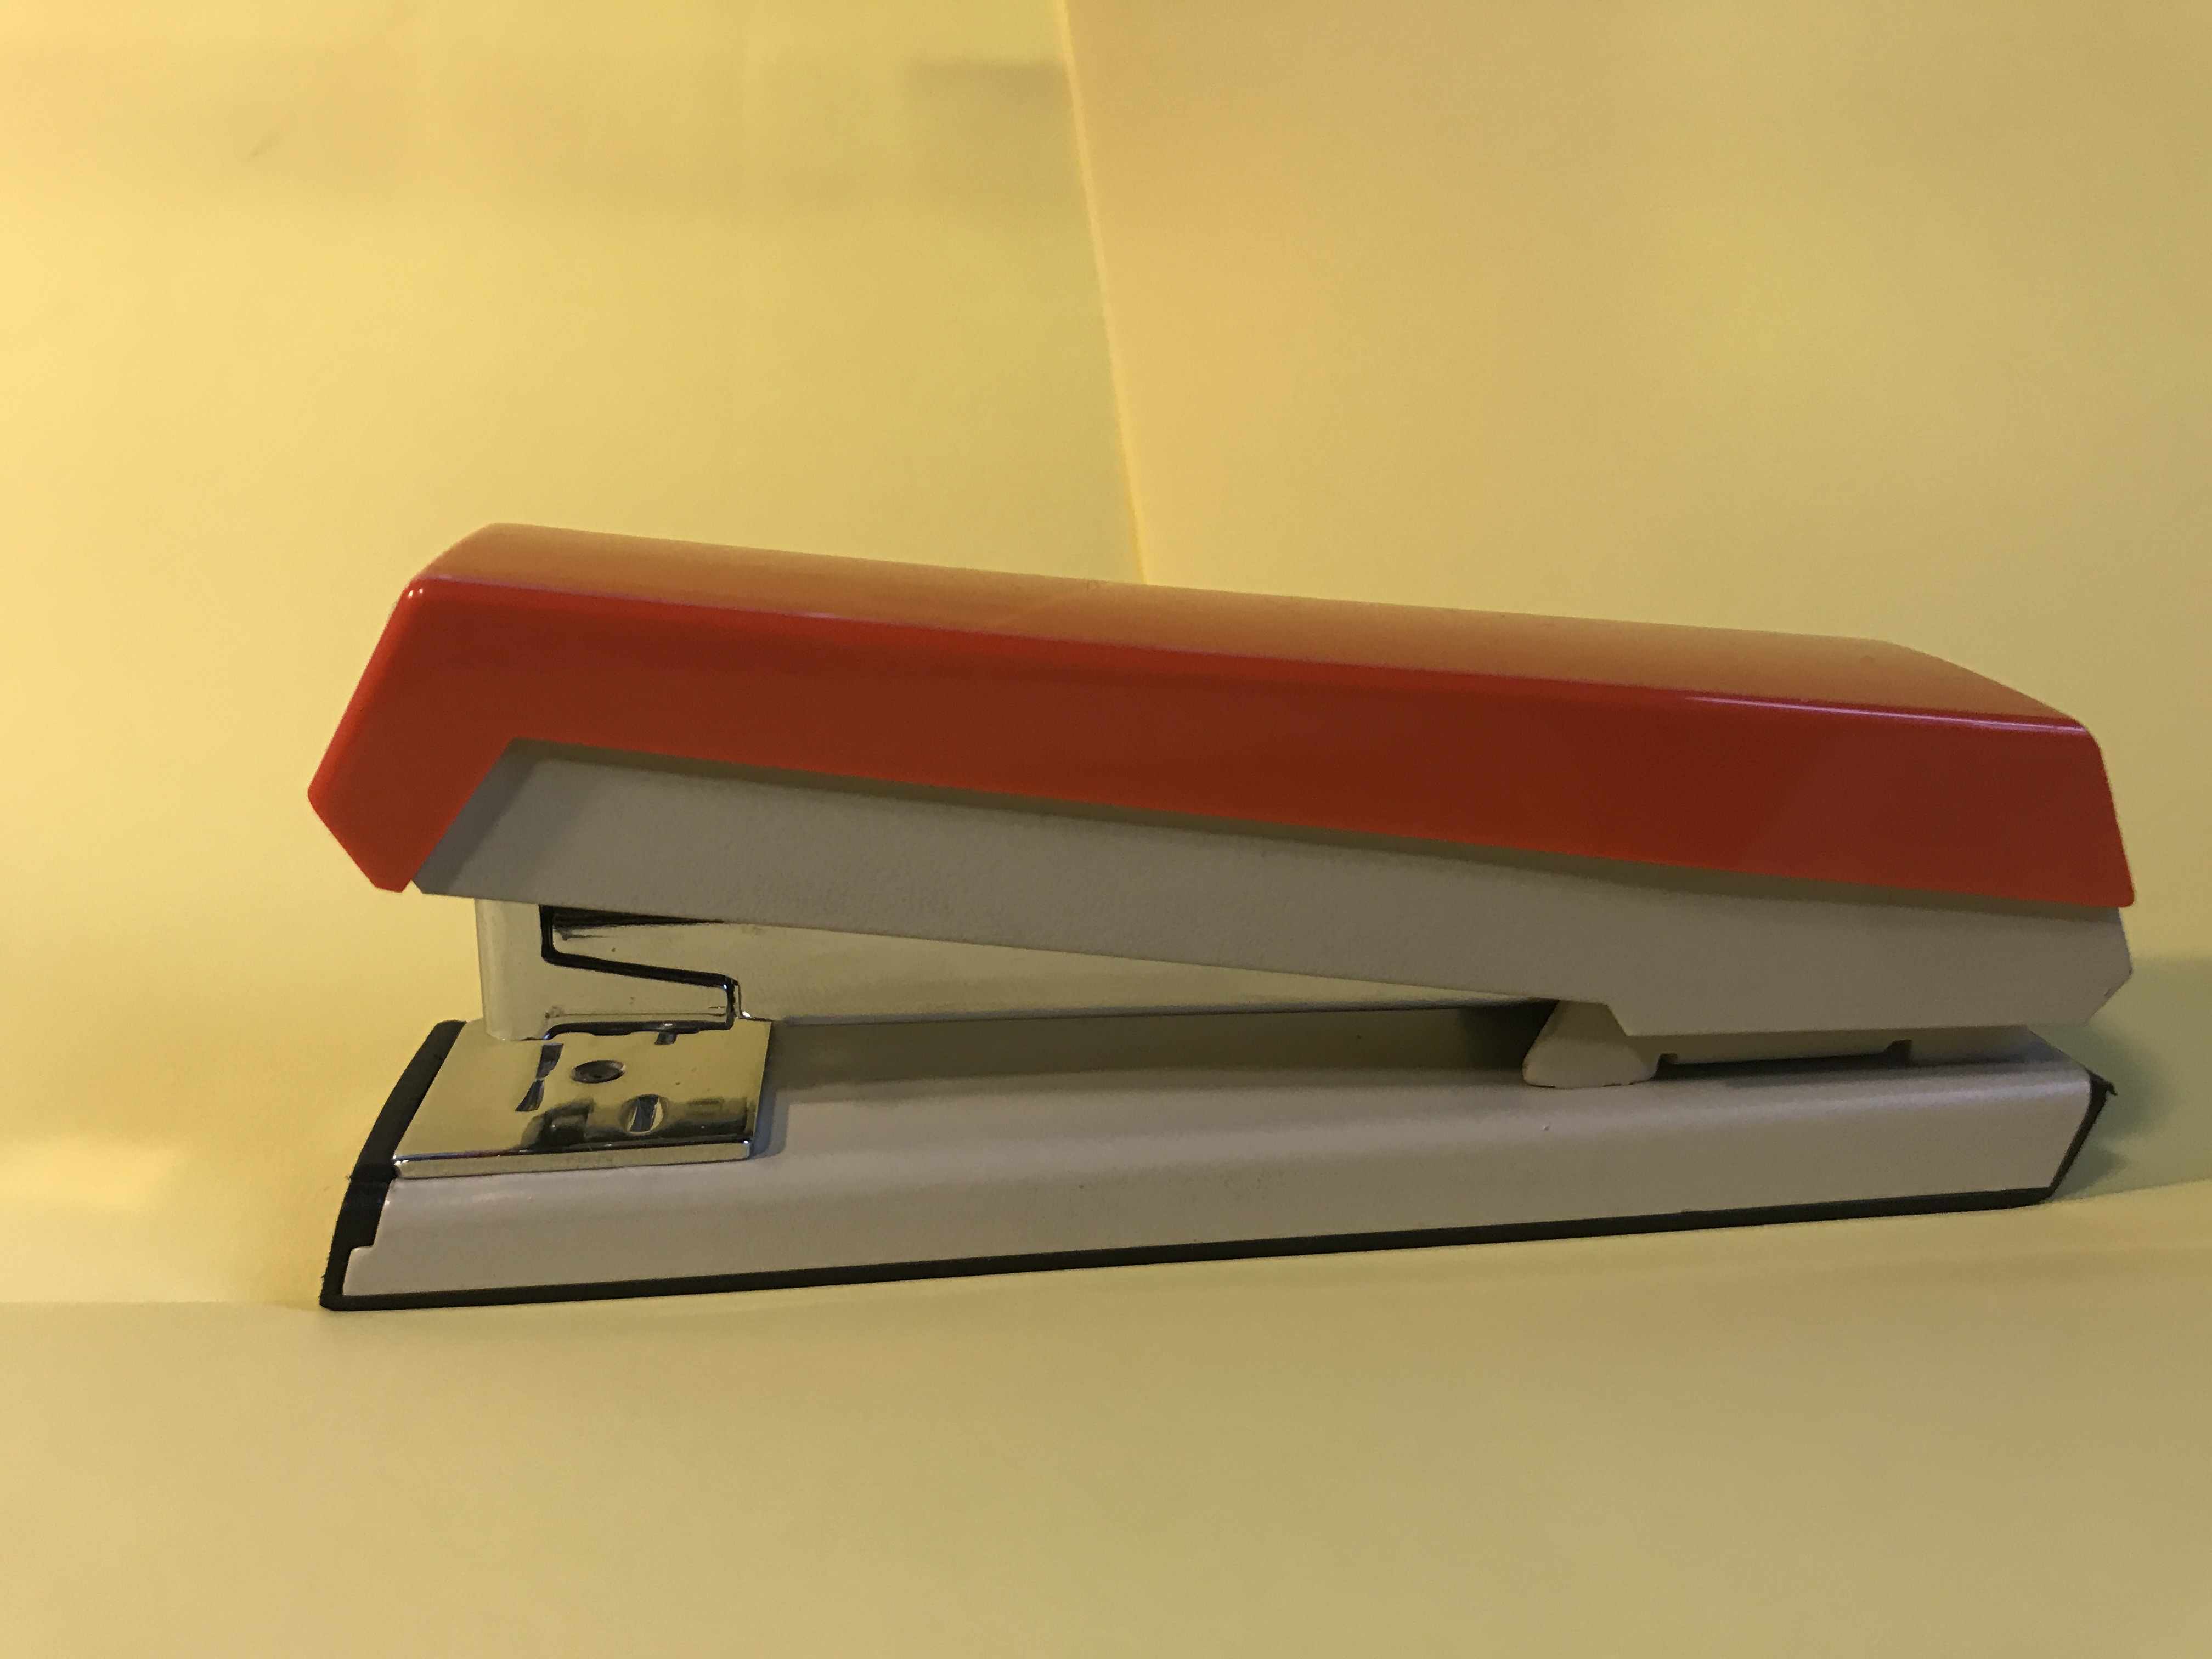
The Acco is my favorite because it’s so flashy — has a beautiful orange plastic top. Metal construction, full rubber base, and a stapler compartment that shoots out by pushing a button on the back. The compartment is attached to the stapler, so you won’t drop or lose a part. Here’s a video of someone showing an ACCO 40 with the same mechanism.

The ACCO 50 opens wide for tacking, by pulling the top part up and back — it took me a while to realize this because the stapler is kept in its normal position by strong friction (bent metal strip).

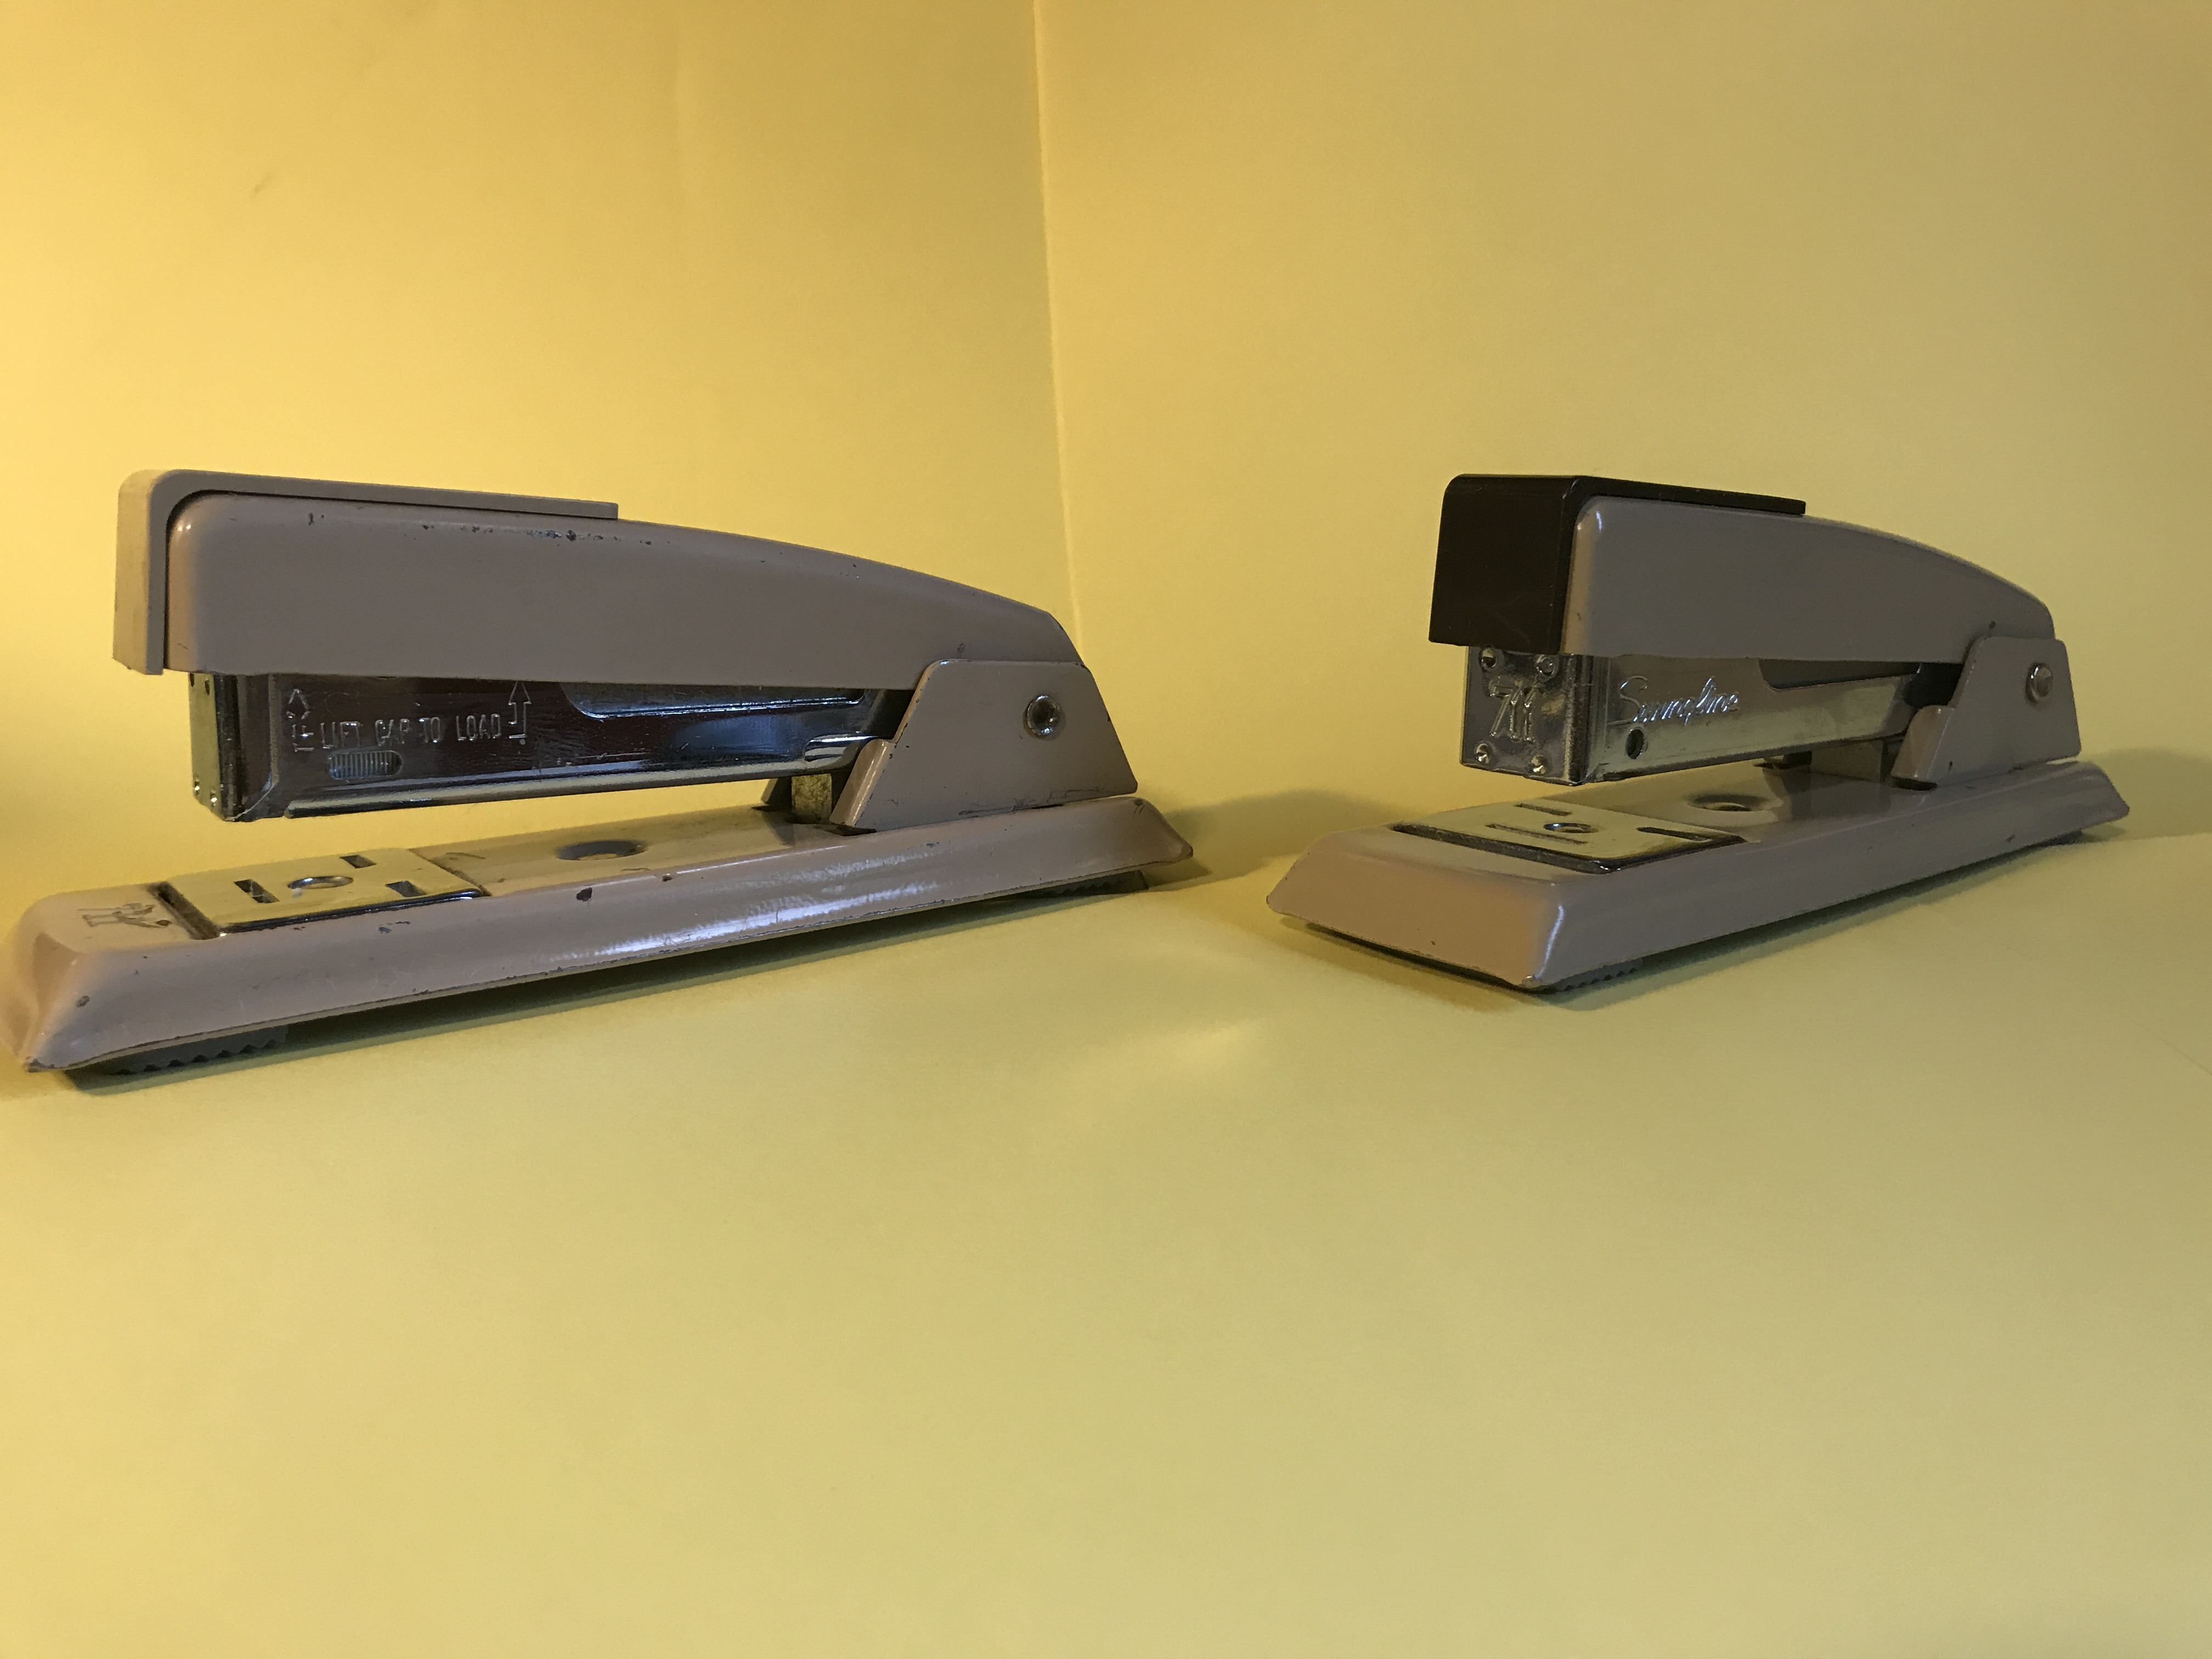
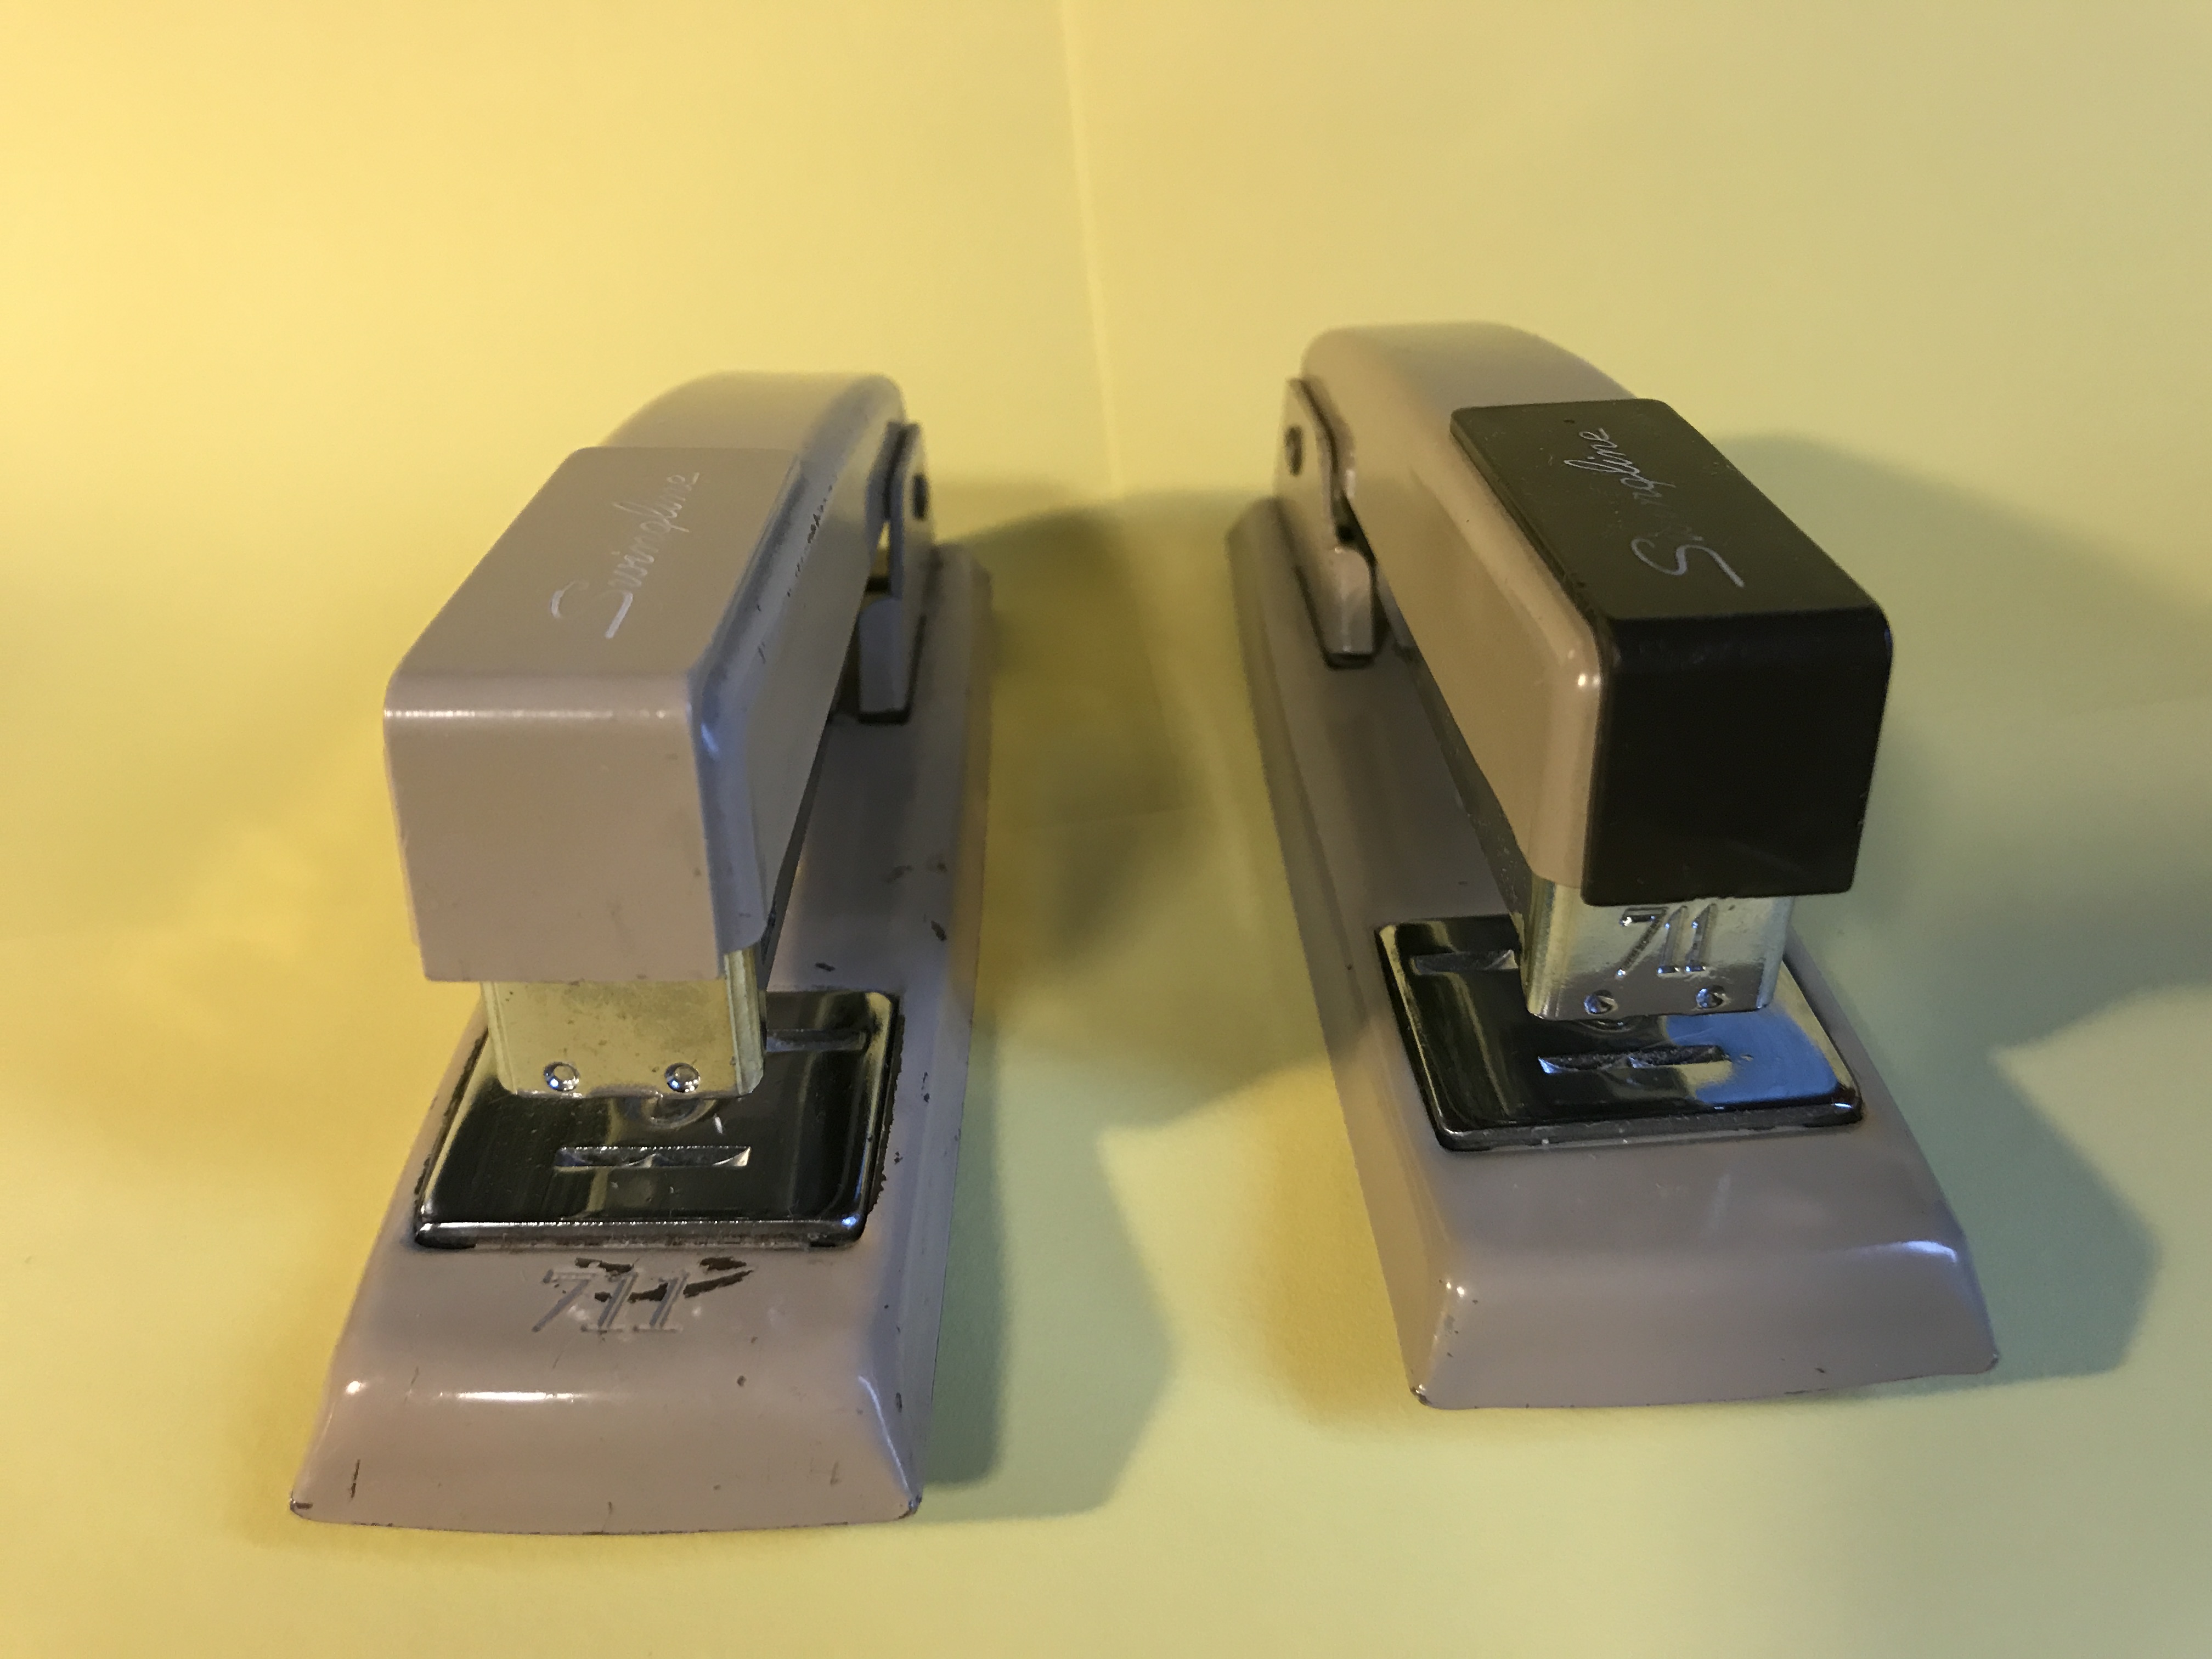
I also own two no-nonsense Swingline 711s — smaller versions of the classic 747.

2017-11-28 11.18.252017-11-28 11.18.46

Like its bigger brother, the 711s are the prototypical stapler: all metal construction with rubber pads, they’re the most ubiquitous (I’ve seen them all my life), and probably the design you think about when you picture a stapler. These staplers get the most use due to their sturdy, all metal construction. Like the ACCO 50, they have a decorative plastic trim. Compared to the ACCO, though, there’s less plastic to get damaged/scratched. The Swinglines opens up for tacking, with a press of a lever underneath. I had a 747 but it went missing, something I hope to remedy in the future.

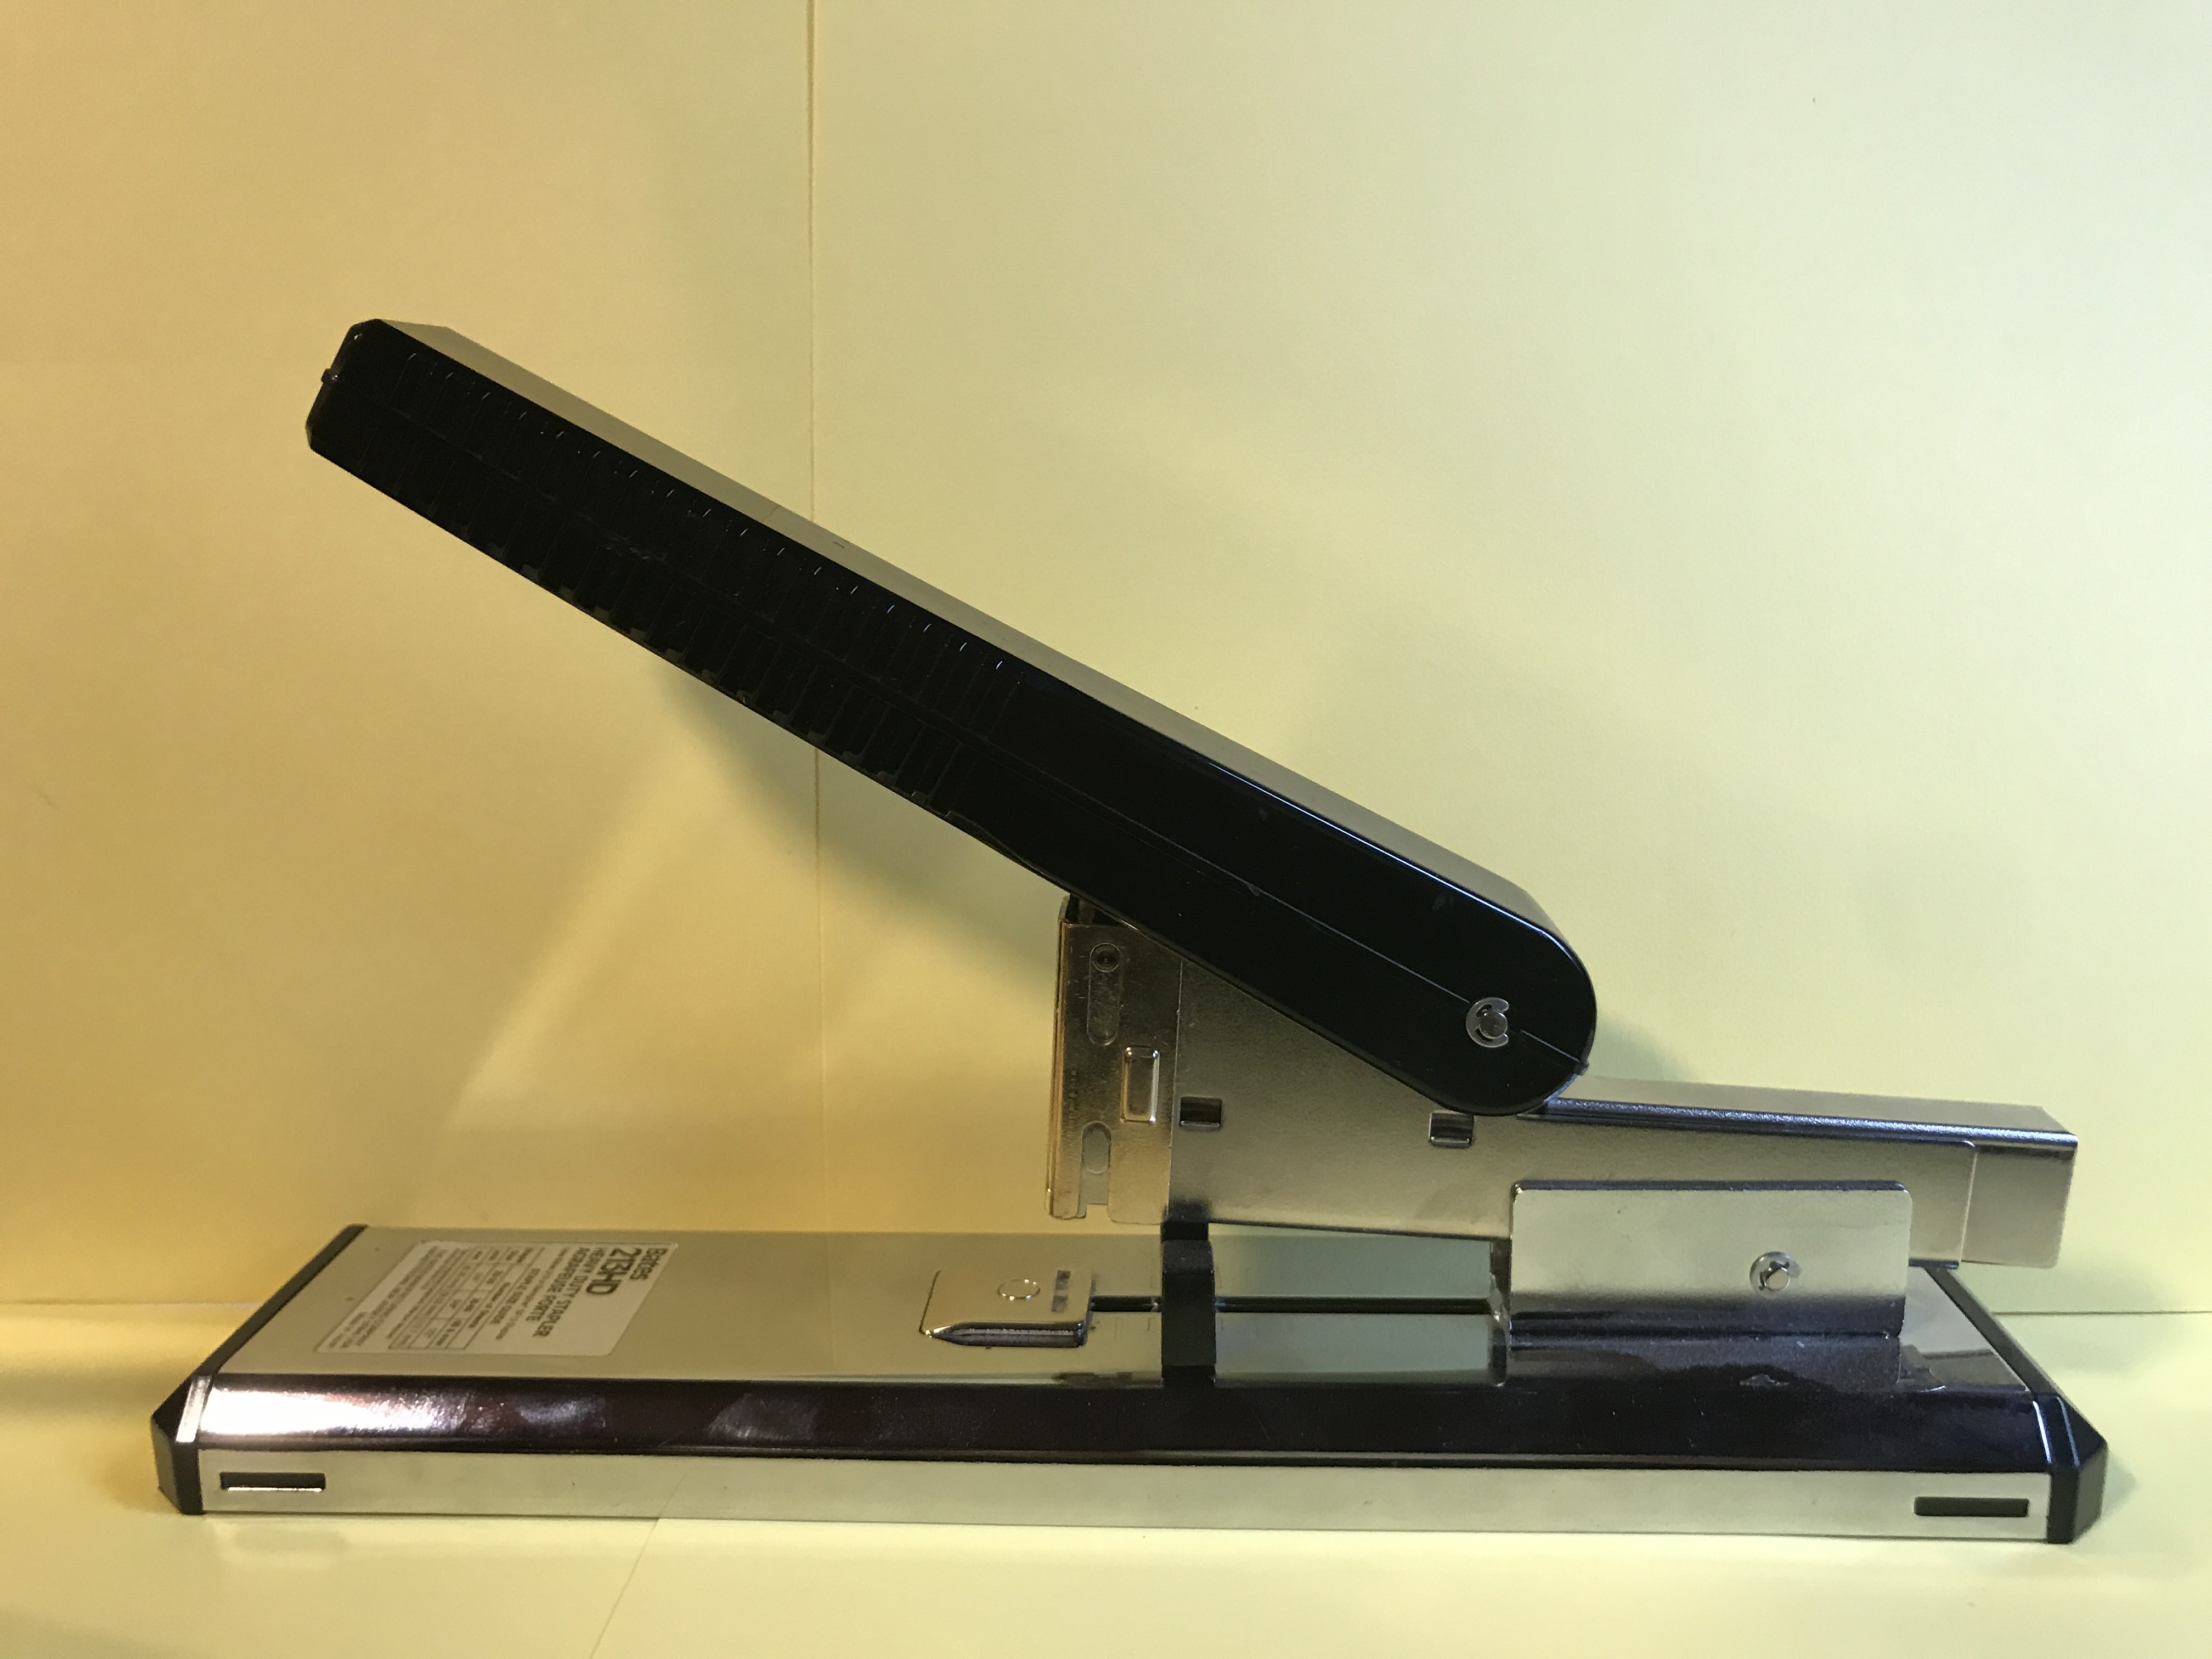
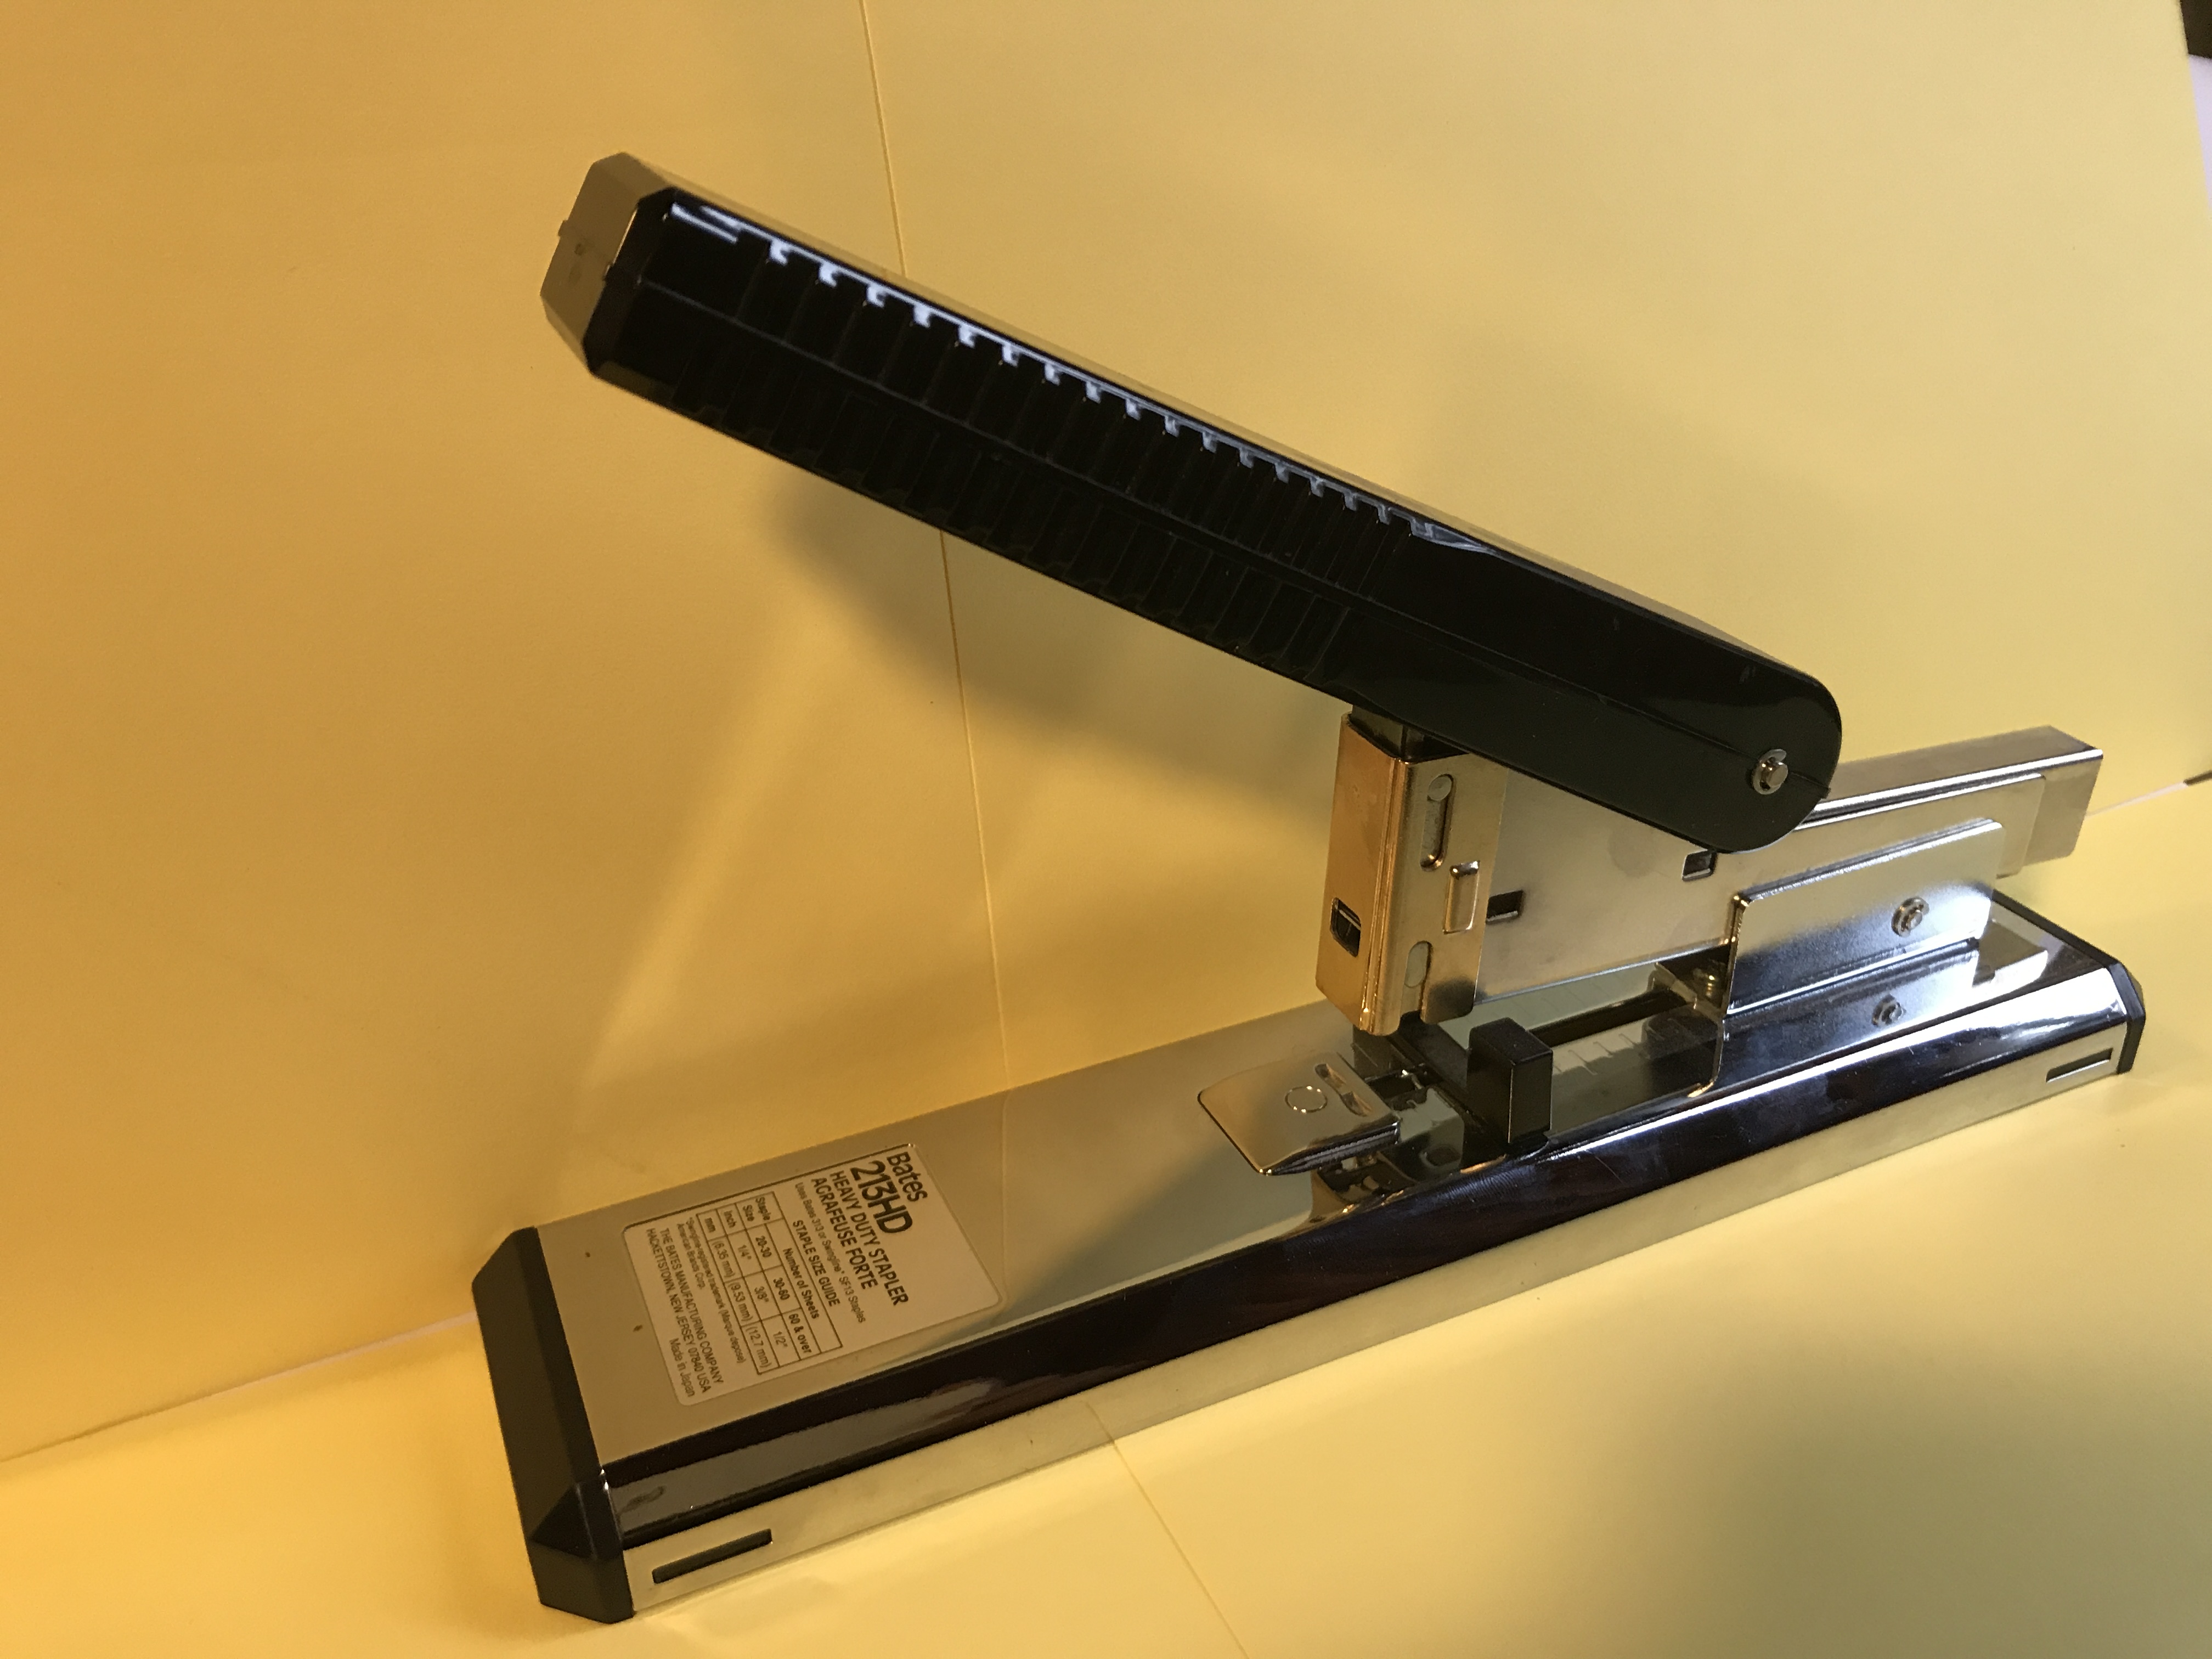
Finally, I own a Bates 213HD, for when the stapling job gets real serious.

2017-11-28 11.07.052017-11-28 10.50.18

This one is designed to handle ridiculous amounts of paper. I use this to join my short stories when they get into the 20 some pages. The other staplers I’ve mentioned are iffy to unusable at this range. I have the 1/2 inch staples, which are supposed to be able to handle the 60+ pages, but I doubt I’ll ever need to staple that many sheets, but if I do… The Bates stapler is made in Japan, and is a beautiful chrome with rubber ends that also serve as a base at both ends. Mine was made in Sept 1998, which I like to tell myself was not over 20 years ago.

All of these staplers, like many other tools, have slightly different use profiles. They all do their job very well, though.

In terms of condition, staplers tend to fall into one of two categories: they are either workhorses, because they were used on a regular frequent basis, for example at a school, or they enjoyed a life of leisure and light use because they were used in a home or a person’s desk. I probably use a stapler once a week, myself;  the Bates 213HD, I’ve only used a handful of times. On eBay, you can find incredible deals on like-new vintage staplers for the price that you’d spend on a modern (read: not very good) stapler.

Cretacolor Nero Medium (#3)

The Nero is an Austrian made, Cretacolor branded,  oil based charcoal pencil. I didn’t know they were oil based until I looked them up, just now…I knew they weren’t graphite, though. A graphite pencil has a very limited value range….a light pencil can only get so dark, regardless of how hard and how much you lay down. Eventually, you develop a graphite shine that will prevent you from laying down any more graphite. You basically have to plan or adapt to the choices you’ve made and a graphite drawing with varying intensities is the result of a suitable range of pencils (light, dark). The Nero is different.

With the same Nero pencil, you can have very dark over very light and many shades in between. I’ve used this to good effect. I can, for example, do a preliminary sketch with more refined layers on top and I can color over the earlier work and get a fuller range of values all from one pencil. Now that I think of it, I was doing the same with the oil based Cretacolor Sanguine 5.6 mm leads. The drawing builds on earlier layers. The Nero pencil is well made and I haven’t had any problems with core breakage like I used to have with charcoal pencils, which means Cretacolor has a good formulation going on. They also sharpen well. Highly recommended.

Skilcraft 1.1 mm Mechanical Pencil

I picked up the Skilcraft 1.1 mm Mechanical Pencil to use with some old (very old) IBM Electrographic leads. The mechanical pencil is designed to take 4 inch leads — most (all?) 1.1mm lead out there is stubby stuff, anywhere from 1-3 inches in length. Don’t recommend getting into the 1.1 mm lead space if you can at all help it. Not enough choices in the ecosystem.

I bought the Skilcraft mechanical pencils in a pack of 12 for about $24. You may end up spending more. At 2-3 bucks a piece, they’re a good deal. A great price for a well functioning mechanical pencil. The alternatives started at about $11 per pencil. I have no problem spending a few dollars on a quality pencil, but none of the other pencils I surveyed looked capaable of handling 4 inch leads and no way I wanted to snap my leads.

The Skilcraft pencils are made of a sturdy black plastic and use a knocker at the top to advance the lead — typical functionality. I’ve been using them for several weeks and they work fine.

The pencil can take 6 total leads, one in the mechanism and 5 more in the chamber. If you have 1.1 mm leads, this is the pencil to get. There’s an Autopoint and a Rite in the Rain …but both of those are stubby, not full-sized pencils. Cost wise, the Skilcrafts have those other ones beat.

Skilcraft 1.1 mm Mechanical Pencil

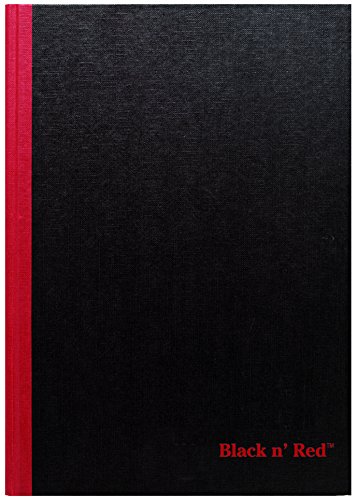
Black n’ Red casebound notebooks

I mostly use Black n’ Red casebound notebooks for work notes. For my other writing, I use Moleskines or Rhodia webnotebooks.  Black n’ Reds are excellent general purpose notebooks, with a good look, smooth, opaque acid-free paper. They don’t hold up too well with repeated rough handling, and I’ve seen quite a few lose their spine. For the price, however, there’s nothing better. Amazon sells these notebooks for about 7 bucks in multiple sizes. The 8.25 x 5.875 notebook has sold for as little as 2.99 but event at the 6 dollars that it averages, when available, is a great price. The larger 11.75 X 8.25 size sells for about 7. I have several of each. They work well with all the writing instruments I use, ballpoints, fountain pens, pencils, etc. Highly recommended.

51fiuH9cCQL

The KUM Long Point Sharpener

The KUM Long Point Sharpener that I have is made of magnesium, which is light weight, and has flared sides for easier holding and twisting. The KUM is particularly well suited for sharpening cedar writing pencils. The wood comes off in thin shavings and the pencil ends with a long, smooth, clean cut — contrast this to the rougher finish of your typical hand held sharpener.

The long point is great when you’re writing for long periods of time. Not surprisingly, the KUM Long Point is my preferred hand held sharpener. It does a great job on the pencils I use the most and an especially good job on the Uni and Hi-Uni pencils, which are, by my estimation, the best made pencils around. On these, there’s no rough, jagged points, just perfection all around.

I tried the KUM on the engineered wood of the Staedtler Wopex to poor results, however. Only a sharp grinding from my mounted sharpeners will satisfy the Wopex.

I highly recommend this tool if you’re looking for a quality sharpener to carry around.

Pentel Hybrid Technica

The Pentel Hybrid Technica is a specialty needle nosed pen, marketed to artists but I use it strictly for writing, where it gives me a thin, consistently dark line. I have it in .04, .05, and .06 mm sizes. The .05 is my favorite.

It uses a pigmented ink, instead of a dye ink, such as is found in most gel pens or ballpoints. That won’t mean much for casual pen users and it won’t mean anything for the cognoscenti either. The ink’s designed to be of stable, archival quality– with a neutral acidity, just like the quality paper used by many artists. The ink will not fade or change color with time and it won’t interact chemically with paper.

In my experience, it works best on finer, smooth paper with some absorbency , including the paper found in Moleskine or Rhodia Web notebooks, where I use it. I don’t recommend using it on copy paper. The performance on cheap paper is poor and you’ll send the pen to an early grave. Nor is the pen any good on ultra slick paper, like vellum or the standard paper found in Rhodia pads. On this kind of paper, the tiny rollerball will glide over the surface like it was glass.
Overall, the Pentel Hybrid Technica is a good pen when you need a thin line to write small or neat or if you feel like taking a break from your usual stash just to try something new.

The Moleskine Folio

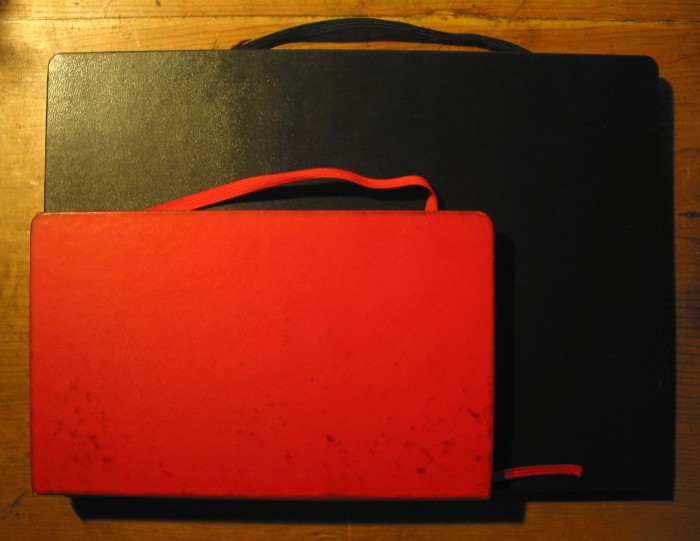
My introduction to the Moleskine brand came by way of a red “Large” lined notebook, which is not that big.  I successfully filled up the notebook, draining a big chunk of ideas from my brain into it. When I was done, I went exploring other products, eventually hitting up on the Folio, a ‘professional’ line offered by the company. In addition to coming in bigger sizes, there’s also one major improvement, the paper.

The biggest weakness for the Moleskine, which is also a benefit depending on your tastes (or twists)  is the  paper. Moleskine paper is thin. Thin means there can be more pages and the book will not get too thick but it also means that the paper is translucent and this gets bothersome. You have to find the right pens to minimize show-through. Also, the Moleskine will start off tight, but the more you write, the more the paper flexes and curves under the incision of the pen or pencil. I like the result — the book looks like its getting used up as you write and you’re done when you no longer have any flat pages. The Folio, in contrast, remains flat and tight and has less show-through; you can focus more on what you’re writing now, instead of being distracted by the past. I also think the bigger format shows off my writing much better. I like how the sheer volume of words fit on the Folio.

I highly recommend the Folio to people that can handle the intimidating size and are up to the challenge — them’s a lot of narrow lines. 

ms and folio

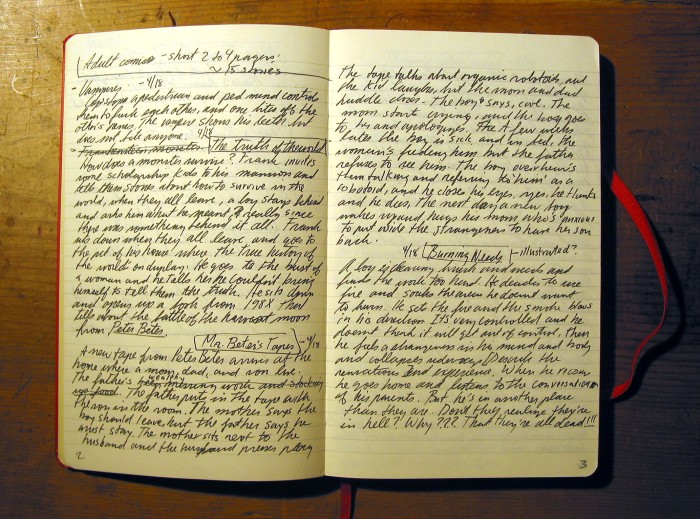
Here’s the inside of the Moleskine:

ms

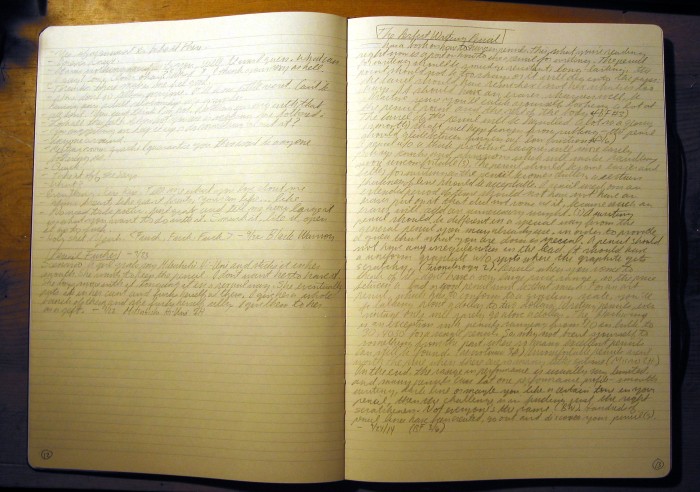
And here’s the Folio:

folio

Introduction

I use pencils a lot, primarily for drawing but more recently for writing (casual business notes and writing-writing). For writing, I used to use pens and I started quite a collection, while experimenting with different experiences. Who would’ve thought about using a pen as an experience. But it is. Whatever your activity, there’s different way to color how something is done.

Inspired by pencil bloggers, I decided to put together a blog of my own — in my drawing blog, I frequently descended into talking about materials and process. This blog will be much more of a writing tool blog. I’ll write about pencils, papers, pads, notebooks, maybe the occasional pen and colored pencil.

If you’re researching some product, I hope you find something here to help you out.

Thanks!